As a Project Run and Play "alum", I had the opportunity to participate in the release of the Collection 10 Lookbook--Project Under the Sea! It was hard to believe summer would ever get here when I signed on back in March, but it's sunny and 90 degrees now.

While I'm landlocked in the midwest, my daughter spends nearly every day in a pool, sprinkler or on a slip 'n' slide, so we never seem to have enough swimsuits. I picked up the Minnow suit from Sofiona when it released last year and never got a chance to put it together, so I knew I had to do that first. One of my first swim patterns, and my first Sofiona pattern was the Sturgeon. Every time I start one of their patterns I think "uh oh, I've gotten in over my head this time" because their designs are so uniquely designed and I can't believe there's any way I can put together anything so complex. But I really should know better by now. Their patterns are wonderfully designed and their instructions are flawless and make the whole process painless. Anyway, try them out, and surprise yourself.

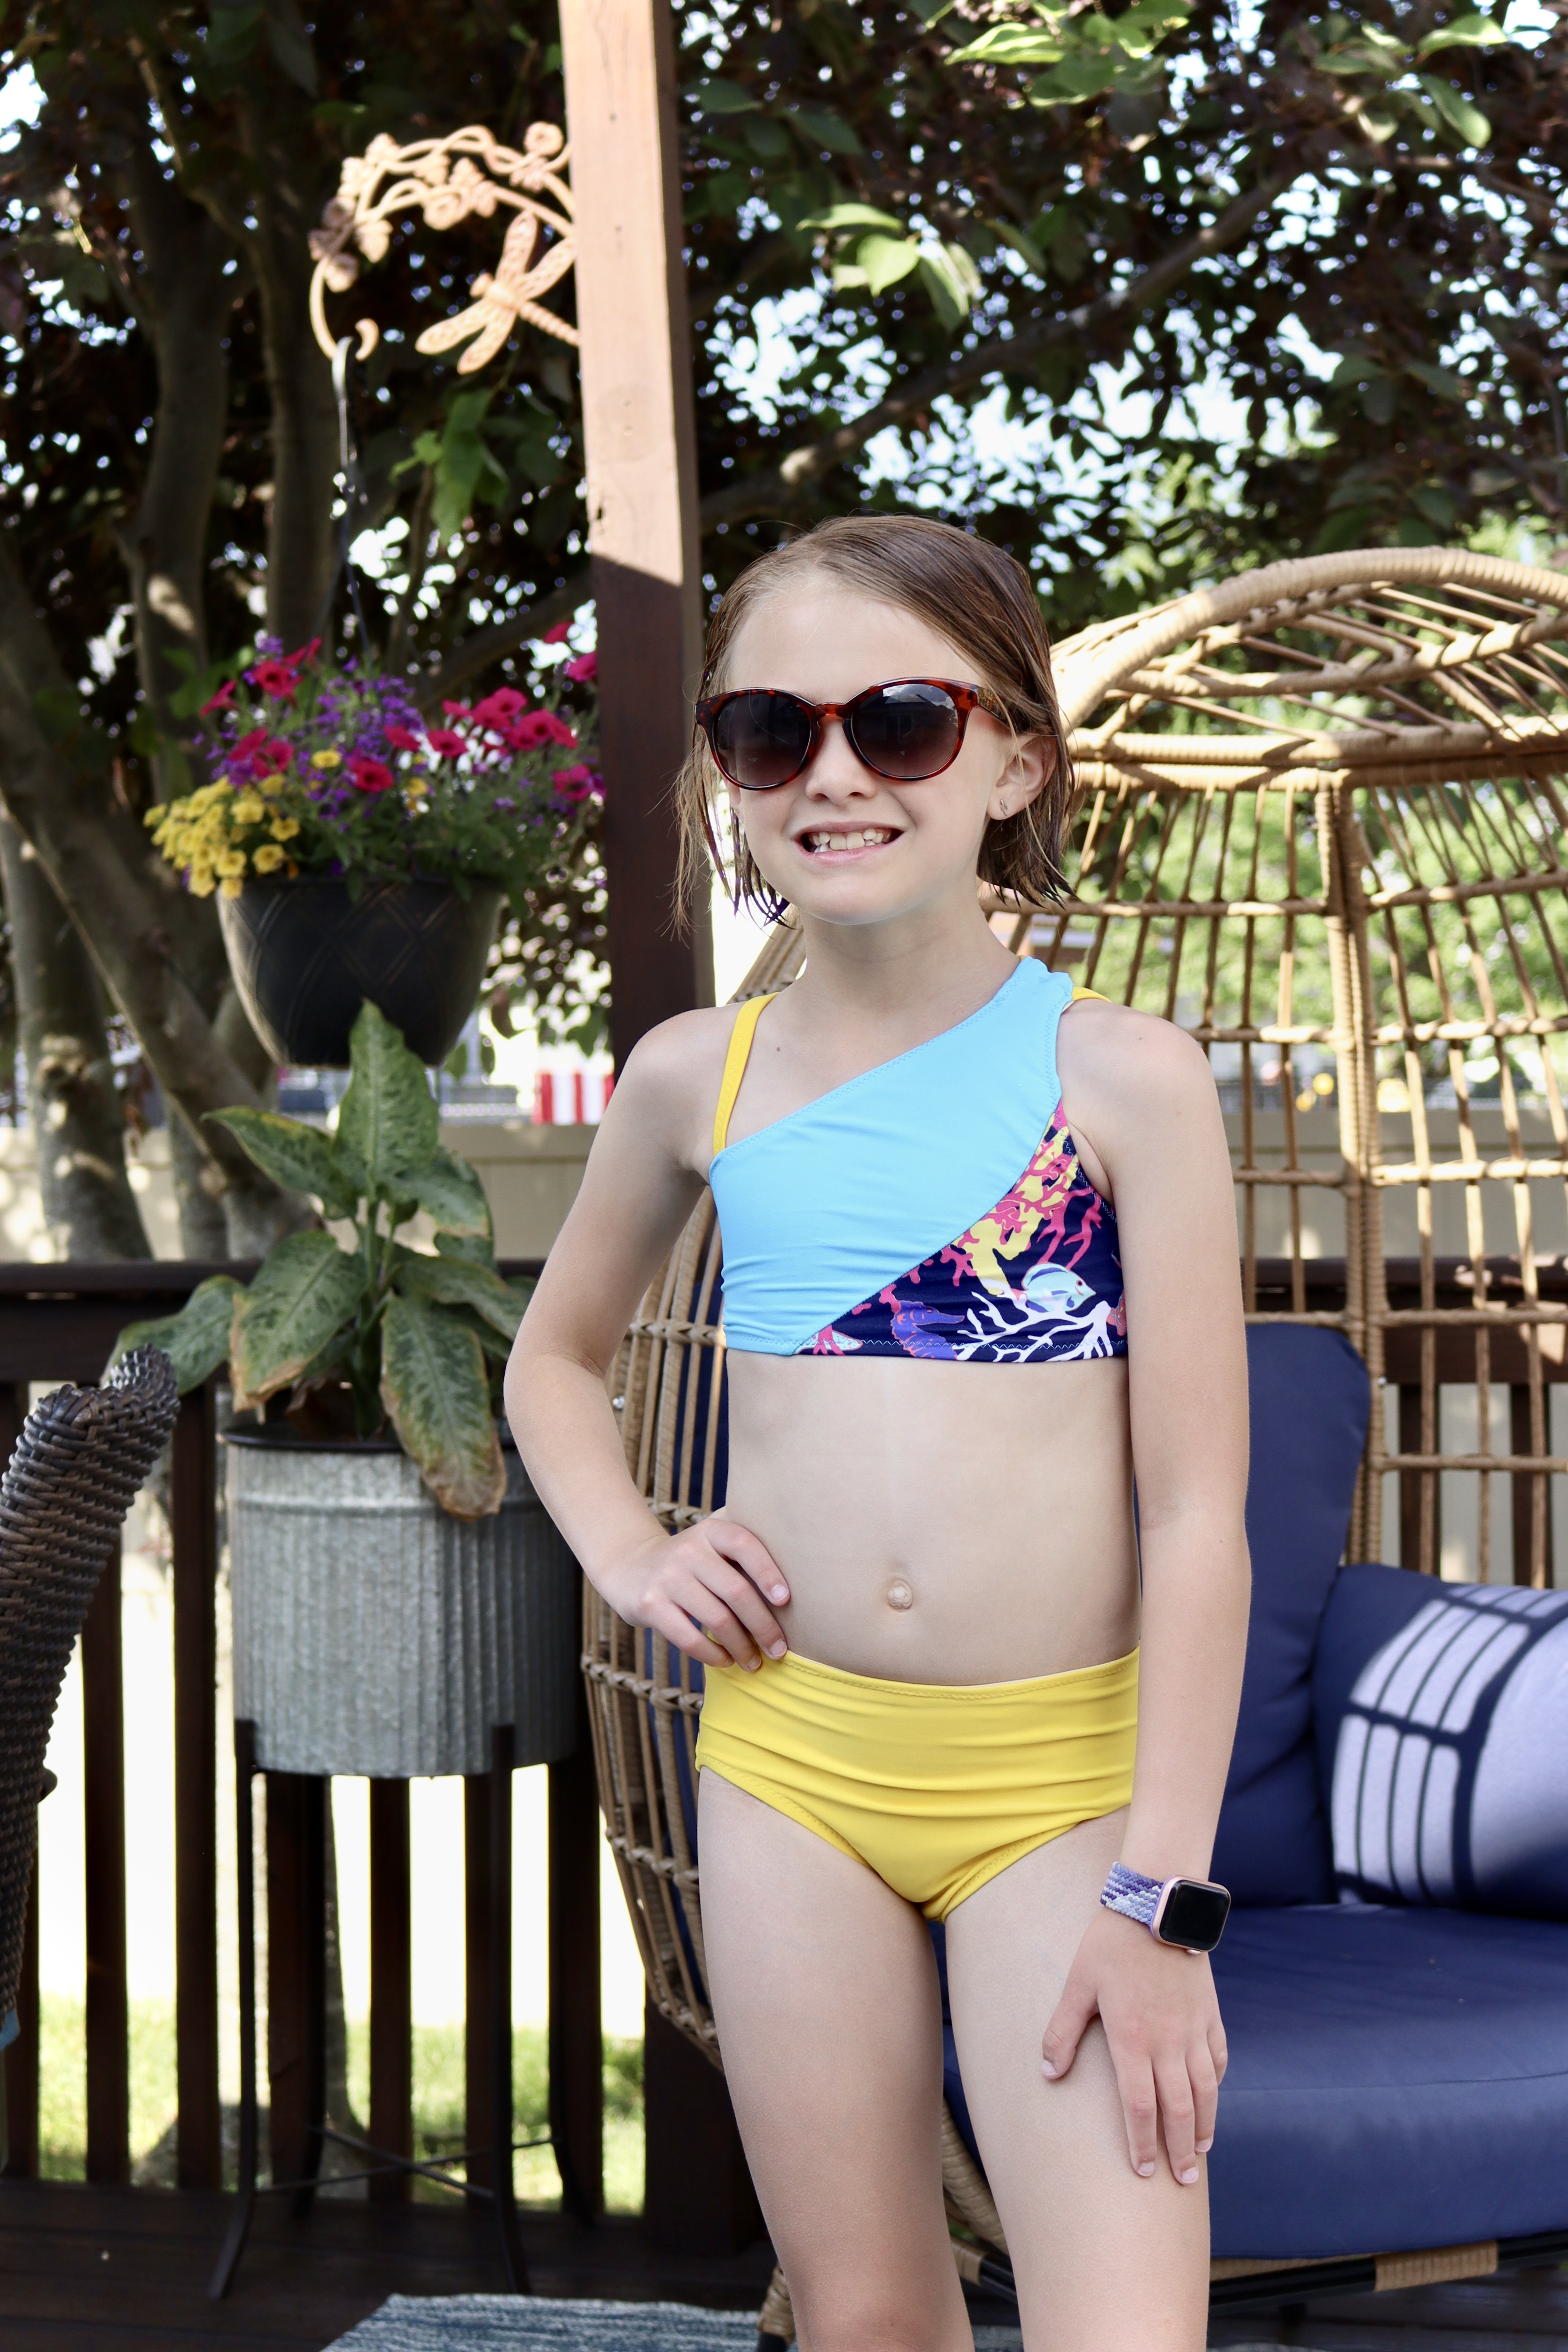
It was the back of the Minnow suit that I found so beautiful. I chose ALL the straps and the pieced front top with the pieced back bottom. I was able to use scraps of a print, and solid aqua and yellow from my stash to make the color-blocked two piece. (side note: if you've never made swim, I find that it's one of the most cost-effective things you can sew--much cheaper than buying because of how little fabric it uses. You'll get many pieces out of a single yard of fabric). In addition to that, I used lining and elastic from my stash as well. Swim does require a lot of elastic. Fortunately, I've been hoarding it since the Great Elastic Shortage of 2020 (aka, Covid mask-making)

I will almost NEVER pass up the opportunity to test a stuffy pattern. I had planned to make at least two different stuffies. However, after I made my first axolotl, my teenager claimed it, which led to drama because obviously my nine-year-old wanted it. But it turned out, no matter how old they get, you always, ALWAYS have to make two identical stuffies. The good news is, if you're using no-fray fabric especially, the Luke Axolotl pattern goes together very quickly. Again, I was able to put these two together from materials entirely from my stash: fleece scraps, button eyes, embroidered mouths, batting and stuffing.

Lastly, I had tested the Peony Patterns Armeria embroidery when it released in April. I knew my niece Audrey would need a special dress for our summer vacation, but I didn't have enough of the Sarah Watts Florida 2 fabric I used for Juliet's Ivy dress to make another one. I did have enough of this lilac colored seersucker I got from Cali fabrics during Season 26 of Project Run and Play though (which I also used on Juliet's dress). I used it to make a Juniper dress. I used design 1 on Juliet's and design 2 on Audrey's. I love that they can coordinate with out being too matchy-matchy.

There are so many more patterns in this collection I would have tested if only it weren't for my pesky full-time job! Be sure to check them all out!
Comments
Post a Comment